Geo Metro XFi Convertible Project Page
by Rick
This is the project page for my Geo Metro XFi Convertible Project. My old XFi hatchback body was rusted out badly, and the unibody was starting to flex. I was planning on repairing it well enough to make it last for another year, but I ended up finding a convertible for next to nothing. I decided that instead of patching the stock XFi body to make it last a while longer, I would just go ahead and build the convertible body into a good car. I wanted to build a metro into a Triumph Spitfire body initially, but I gave up that idea since I just don't really have the time to do it and there were some problems with fitting all of the Metro parts into a Spitfire without having to resort to a lot of custom-fit parts to make it work.
The cars I started with

The convertible car was purchased locally for next to nothing. It had some major problems, and nobody else was willing to take on a car like this. The car was sitting beside a house that burned down, so the entire driver's side of the car was scorched and melted. The fuel pump was bad, so the car would not start. It was less than a mile from my house, so I just got my neighbor to pull it home after putting tires on the driver's side that would hold air. Once I got the car home, there was no point in trying to start it, so I just started stripping it down. I didn't plan on using anything from the convertible except the back half the body, so its overall condition didn't matter that much.
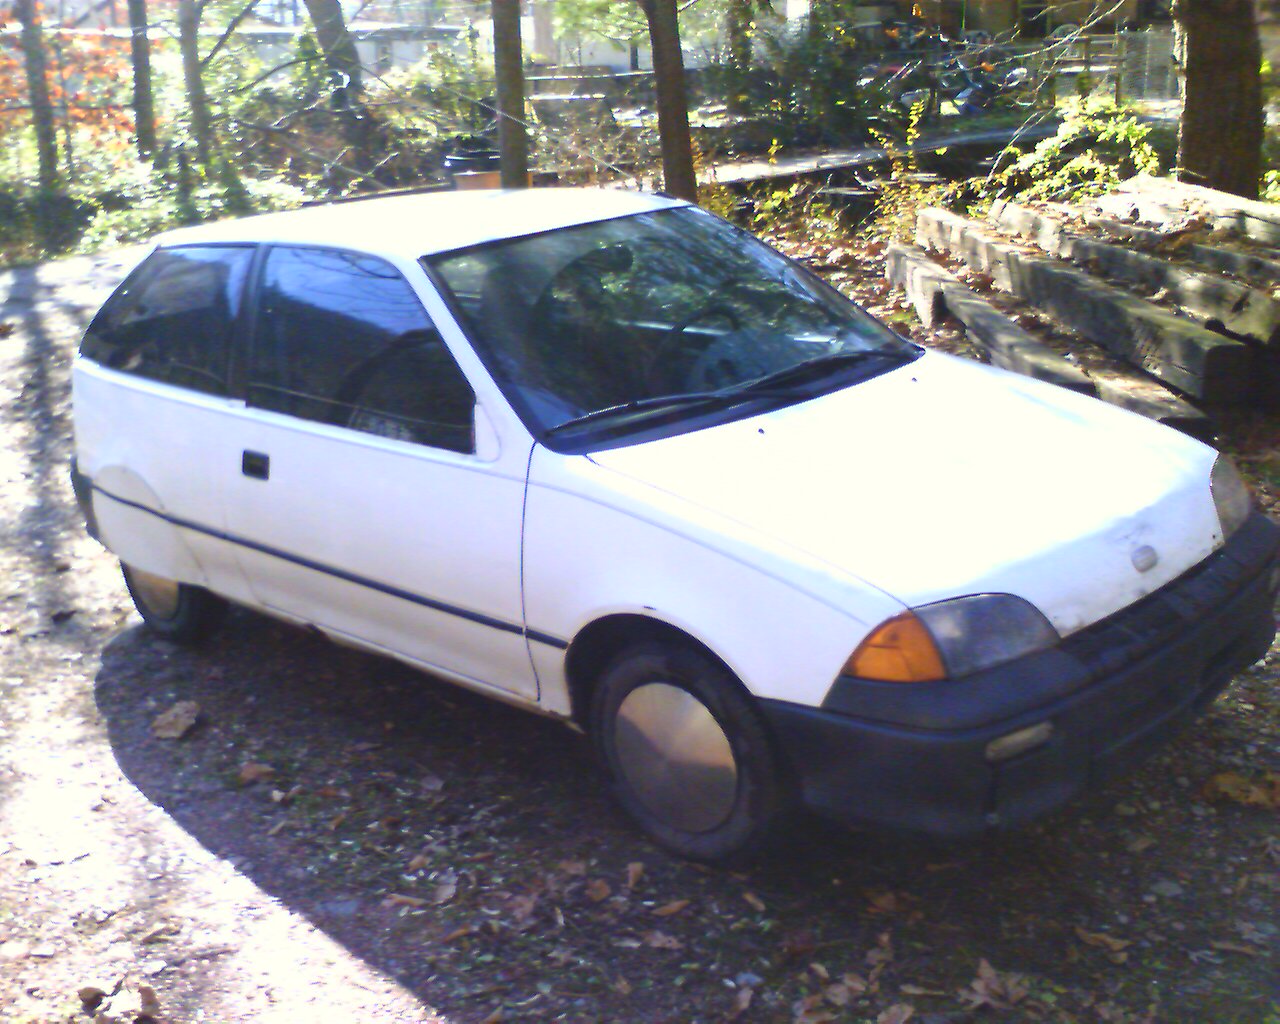
 My old XFi was the second half of this project. It had some serious rust issues. The drivetrain was still in perfect condition, and there was nothing mechanically wrong with the car except for the rust. I could have repaired it and kept driving it as it was, but any repairs would have taken some serious time and would have not actually improved the car beyond the 70 mpg per tank it was able to get before.
 I have several other junk metro bodies here since the cars used to be cheap, but I didn't use many parts off the other cars. Mainly I only used a part off them if it was in better condition than the one on the XFi.
How the car was built
I started by totally stripping the convertible down while I was still driving the XFi. It was still running fine, and there was no need to park it for the first part of the buildup. I started by cutting away all the rust and bad areas off the convertible body so I could plan how to lay out a tube frame.


I did it by only cutting away what I had to so I could run the new tubes. I used the existing mounting points for the suspension. It looks bad compared to making whole new suspension mounts, but I was going for speed and quality, not looks. The factory mounting points were easy to attach to the new frame and saved a lot of time re-making things that were already there.


After the frame was built, it was time to start assembling the new car. Assembly was fairly straightforward since it was still basically a Geo Metro and all the parts would still bolt back on with only minor fitting. I had to quit driving the XFi about a week before I reached that stage in the project due to frame rust, so it was ready to tear down and start moving things over to the new body.


The way I did it was to take one thing off the old car and move it directly over to the new one. So first was the engine, then the wiring harness, then the rest of the electrical systems, and so on. Transferring everything over into the new body didn't take long except for some customizations I made.


This car will actually have music. I didn't put a radio in it but instead put a mini-itx computer in the dashboard. It is a 1.2Ghz Via system with 1Gb of RAM and a 120Gb hard drive. I also put in WiFi, Bluetooth, GPS, and a USB AM/FM radio. The computer is hooked to the Megasquirt EFI computer, so it can auto tune the car while I am driving. The screen is a 10.4 inch touchscreen LCD.
One of the most unusual parts of how I built this car is that I raised the floor of the car 5 inches. I will also have a smooth panel sealing the bottom of the car. The bottom of the car will be totally sealed from front to back so all the air entering the grille will pass through the channel under the raised floor and exit the rear of the car through the grille openings I cut in the back bumper. The idea is that most of the aerodynamic drag from a car is from having to break through the air in the front and having a wake off the back of the car as it drives. The duct captures the high pressure air from the front of the car and directs it out the low pressure area behind the car. If this design actually works, it should make a major improvement in the aerodynamic qualities of the car. In the following pictures you can see the enlarged front opening and the rear exits.


After getting all that worked out, I am nearing completion of the car, and it is now able to drive around and even has paint on it. I am hoping for having it complete and ready to see what kind of mileage I can get out of it by July.